Guide to Wiring
How power gets around: The Station Power Network
Power travels through the wires from a power generation source to an SMES unit. The particular power source is sometimes different from station to station, but in any case, if the cables between the power source and SMES are cut, the SMES will not charge.
- All maps use solar arrays to provide power. Power goes directly from the solar panels to the SMES unit.
- Cogmap1, Cogmap2, Destiny, and Clarion use the Thermo-Electric Generator. The TEG has many components, but the TEG unit itself provides the power to SMES Units.
- Linemap uses the singularity engine, as well as a few backup furnaces. Power is created at radiation collection arrays and furnaces, connected via wiring to the SMES units.
Each SMES unit outputs its configured level of power, which travels throughout the station's network of wires to APCs in every room. If there is a break in the wire between the APC and the SMES, the APC will slowly lose power until all equipment, lights, and fire alarms in the room it controls stop working.
Note that it is possible to bypass the SMES units by directly wiring the power source to the station's power grid, skipping the SMES, a technique known as hotwiring. How dangerous the hotwiring roughly scales with how much power the source generates. Less than a hundred kilowatts is entirely safe, a few hundred kilowatts is teetering on the edge of power overload, and tens of MW and more is likely is result in serious burns from being shocked by APCs and electrified doors.
Tools for wiring
A lot of people get this wrong, so pay attention!
You will need:
- Wire - Obviously you need some wire to lay down. It can be found in yellow toolboxes or tool storage, as well as just lying around.
- Wire Cutters - Everyone makes mistakes sometimes, and this lets you cut wire you have placed.
- Insulated Gloves - Cutting powered cables with wire cutters will shock or kill you if you do not have these equipped!
- Crowbar - Wiring is often under floor tiles. A crowbar will let you pry up the floor and get to work.
You may want:
- Multitool - Use this on a wire to see if it's actually receiving power and thus connected properly.
- T-Ray Scanner - This will pulse and let you see past floor bits so you don't have to pry up every floorboard to find the break.
Alright! Now that you have all your gear (Hopefully) you can get to replacing damaged wire or running your own!
Wire Laying: The Basics
- Stand beside the spot where you want to place the wire.
- Face the direction you want it to travel.
- While holding the wire, click directly on the wire you want to attach it to!
- If you click the tile the other wire is on instead of the other wire, a little circle will appear. It may look like one wire, but it's actually just two wires on top of each other. They aren't connected! No power will flow here. Cut it and try again.
There you go! That is really all you need to know to wire anything on the station! Watch out for the little circles in the wire and you should be good! Before you try rewiring a whole room or anything like that, grab some wire, head into the chapel, pull up the floor and get practicing!
Wiring Techniques
Ever wondered how people make all those crazy beautiful wire art designs? Or just want to know how to make a nice, clean wire curve? This section will show you how.
Clicking the coil
Need to lay down some wire over a long distance? Tired of having to manually lay down wire? Just click on the wire in-hand (or use the activate-item hotkey, which is usually C or Page Down) to switch to wire-laying mode! In this way, as you walk over a valid floor tile, you'll lay down wire as you go, on every tile you walk on, greatly reducing time and tedium.
Clicking the tiles
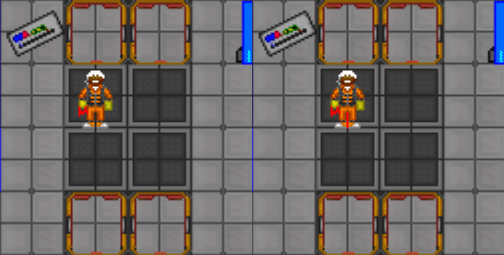
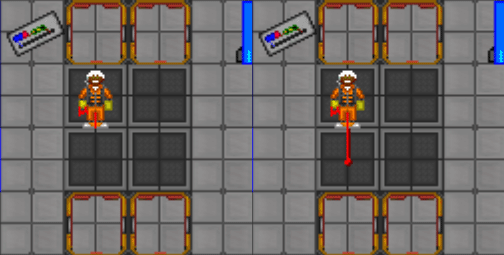
If you're clicking the square you're standing in, a line of wire will be laid from the center of the tile to the edge of the tile in the direction you're currently facing (which is generally the direction you last moved).
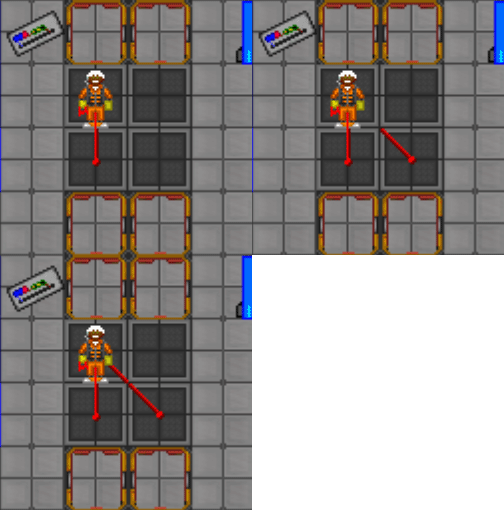
If you click another tile, a line of wire will be laid in the center of that tile running toward the tile you were on.
This works even diagonally, although since you can't "face" diagonally you can't lay diagonal wires in your own tile using just this method.
Clicking the wire stumps
You can do a lot with just straight lines, but knowing how to do curves opens up many more opportunities. Luckily, it's pretty simple.
Just click on the square you're standing on, as normal.
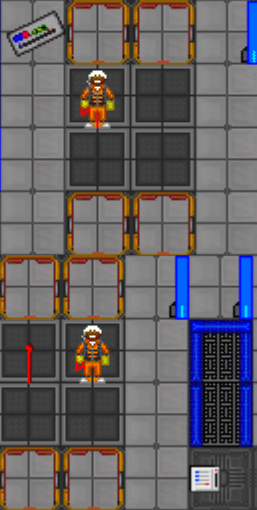
Click on the adjacent wire (clicking on the "nub"/"circle" in the center will make it easier), and presto, you've got a basic curve!
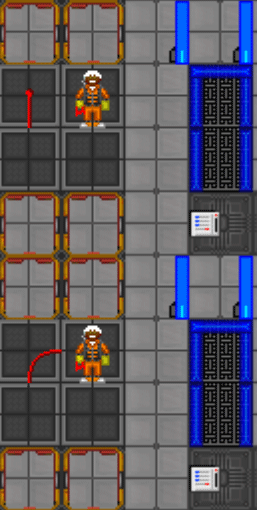
Now, this is just one of many possible curves you can do, but the techniques for making the others follow a similar pattern. There are different shapes for when you're northwest of the wire, west of it, even southwest of it. Move around and don't be afraid to experiment!
Do note however, that if you'll be wiring the station this way, this is actually theoretically bad. Wires that don't link up at a center-of-tile junction don't share power with each other. Cutting the wire will also unravel that whole section (one tile) of wire. Since you use just as much wire to make a curved line of wiring between two tiles as two segments that meet at the center, it's almost never worth the bother except for aesthetic reasons. You can lay down some awesome wire art this way, though.
